
|
Is anyone else as excited as my kids are for the new Ghostbusters movie?? I am making them wait til it comes to DVD~lol. There is no way my 5 yr old will sit still for an entire movie in a theater! But, to keep them (him) occupied, I came up with a SUPER EASY pattern for a little ghostie pal, and his universal NO! So, set aside an hour or two, and follow me for the free pattern~ |
|
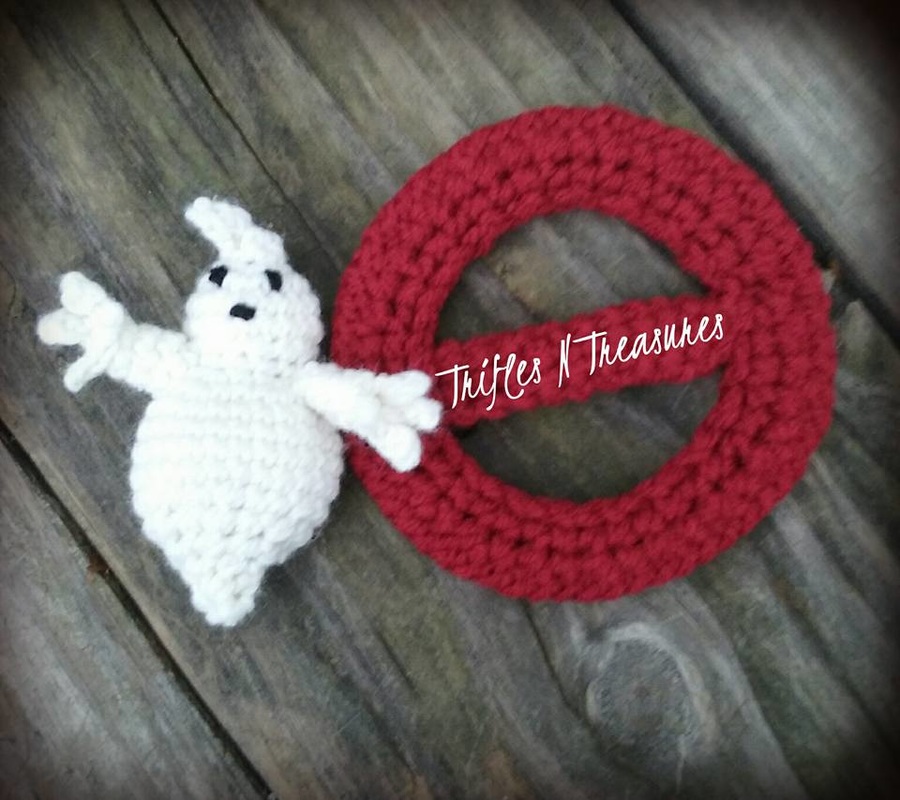
I Ain’t Fraid-a No Ghost!
Crochet Pattern Materials Used: Worsted weight yarn (Red White, Black) Size G/6 (4.25mm) crochet hook Small amount of stuffing Yarn needle Size/gauge: Gauge is not important to this project. Finished model measures~Ghost-4” tall. NO symbol-5” across. Stitches Used/Abbreviations: Ch-chain Rnd-round Sc-single crochet Sc2tog-single crochet two stitches together Hdc-half double crochet Sl st-slip stitch |
|
Instructions:
Ghost: (Stuff as you go.)
Rnd 1: With White, ch 4. Sl st in 2nd ch from hook. Hdc in next ch. Work 6 sc in last ch. Pulling hdc forward, join to 1st sc. (6 sts + hair poof)
Rnd 2: ch 1. Sc in each st around. Join. (6 sts)
Rnd 3: ch 1. *Work 2 sc in next st. Sc in next st*. Repeat (*) around. Join. (9 sts)
Rnd 4: ch 1. Work 2 sc in each st around. Join. (18 sts)
Rnds 5-6: ch 1. Sc in each st around. Join. (18 sts)
Rnd 7: ch 1. *Sc2tog. Sc in next st*. Repeat (*) around. Join. (12 sts)
Rnd 8: ch 1. Sc in each st around. Join. (12 sts)
Rnd 9: ch 1. *Work 2 sc in next st. Sc in next st*. Repeat (*) around. Join. (18 sts)
Rnd 10: ch 1. *Work 2 sc in next st. Sc in each of the next 2 sts*. Repeat (*) around. Join. (24 sts)
Rnds 11-14: ch 1. Sc in each st around. Join. (24 sts)
Rnd 15: ch 1. *Sc2tog. Sc in each of the next 2 sts. Sc2tog*. Repeat (*) around. Join. (18 sts)
Rnd 16: ch 1. *Sc2tog. Sc in next st*. Repeat (*) around. Join. (12 sts)
Rnd 17: ch 1. *Sc2tog. Sc in next st*. Repeat (*) around. Join. (8 sts)
Rnd 18: ch 1. *Sc2tog. Sc in each of the next 2 sts*. Repeat (*) around. Join. (6 sts)
Rnd 19: ch 1.Sc2tog, 3 times. Join. Fasten off.
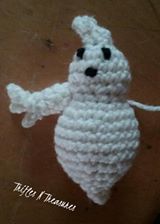
Use a yarn needle and Black yarn to stitch a face on your ghostie.
Arms: (Make 2)
Rnd 1: ch 2. Work 6 sc in 2nd ch from hook. Join. (6 sts)
Rnds 2-4: ch 1. Sc in each st around. Join. (6 sts)
Fingers: ch 2. Sl st in 2nd ch from hook. Sl st in each of the next 2 sts on arm. *Ch 3. Sl st in 2nd ch from hook. Sl st in next ch. Sl st in next st on arm*, 3 times. Fasten off. Weave in ends.
Using a yarn needle, stitch arms to either side of body at rnd 12. (See photos)
Ghost: (Stuff as you go.)
Rnd 1: With White, ch 4. Sl st in 2nd ch from hook. Hdc in next ch. Work 6 sc in last ch. Pulling hdc forward, join to 1st sc. (6 sts + hair poof)
Rnd 2: ch 1. Sc in each st around. Join. (6 sts)
Rnd 3: ch 1. *Work 2 sc in next st. Sc in next st*. Repeat (*) around. Join. (9 sts)
Rnd 4: ch 1. Work 2 sc in each st around. Join. (18 sts)
Rnds 5-6: ch 1. Sc in each st around. Join. (18 sts)
Rnd 7: ch 1. *Sc2tog. Sc in next st*. Repeat (*) around. Join. (12 sts)
Rnd 8: ch 1. Sc in each st around. Join. (12 sts)
Rnd 9: ch 1. *Work 2 sc in next st. Sc in next st*. Repeat (*) around. Join. (18 sts)
Rnd 10: ch 1. *Work 2 sc in next st. Sc in each of the next 2 sts*. Repeat (*) around. Join. (24 sts)
Rnds 11-14: ch 1. Sc in each st around. Join. (24 sts)
Rnd 15: ch 1. *Sc2tog. Sc in each of the next 2 sts. Sc2tog*. Repeat (*) around. Join. (18 sts)
Rnd 16: ch 1. *Sc2tog. Sc in next st*. Repeat (*) around. Join. (12 sts)
Rnd 17: ch 1. *Sc2tog. Sc in next st*. Repeat (*) around. Join. (8 sts)
Rnd 18: ch 1. *Sc2tog. Sc in each of the next 2 sts*. Repeat (*) around. Join. (6 sts)
Rnd 19: ch 1.Sc2tog, 3 times. Join. Fasten off.
Use a yarn needle and Black yarn to stitch a face on your ghostie.
Arms: (Make 2)
Rnd 1: ch 2. Work 6 sc in 2nd ch from hook. Join. (6 sts)
Rnds 2-4: ch 1. Sc in each st around. Join. (6 sts)
Fingers: ch 2. Sl st in 2nd ch from hook. Sl st in each of the next 2 sts on arm. *Ch 3. Sl st in 2nd ch from hook. Sl st in next ch. Sl st in next st on arm*, 3 times. Fasten off. Weave in ends.
Using a yarn needle, stitch arms to either side of body at rnd 12. (See photos)
One arm stitched to rnd 12 of body.
|
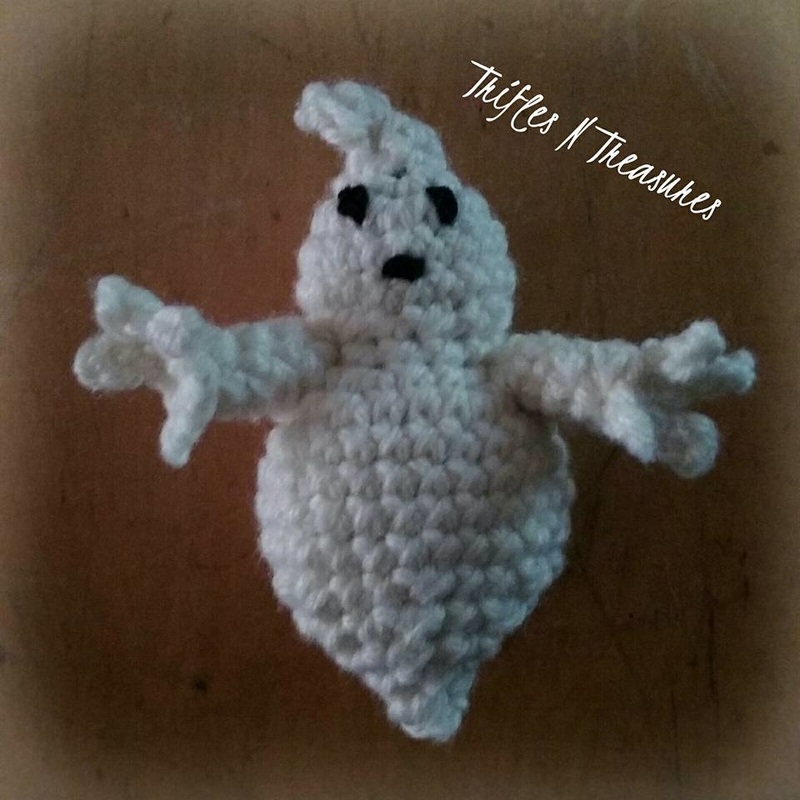
Both arms stitched to rnd 12 of body.
|
Use yarn needle to whipstitch inner edges closed.
|
NO Symbol:
Rnd 1: With Red, ch 40. Join to 1st ch to form a ring, being careful not to twist. Ch 1. Sc in each ch around. Join. (40 sts)
Rnd 2: ch 1. *Sc in next st. Work 2 sc in next st*. Repeat (*) around. Join. (60 sts)
Rnds 3-4: ch 1. Sc in each st around. Join. (60 sts)
Rnd 5: ch 1. *Sc2tog. Sc in next st*. Repeat (*) around. Join. (40 sts)
Rnd 6: ch 1. Sc in each st around. Join. (40 sts) Fasten off, leaving a long tail for sewing.
Cross Bar:
Rnd 1: With Red, ch 2. Work 6 sc in 2nd ch from hook. Join. (6 sts)
Rnds 2-10: ch 1. Sc in each st around. Join. (6 sts) Fasten off after rnd 10, leaving a long tail for sewing.
Assembly:
You may stuff the ring and bar, or not, as you wish. I did not stuff mine.
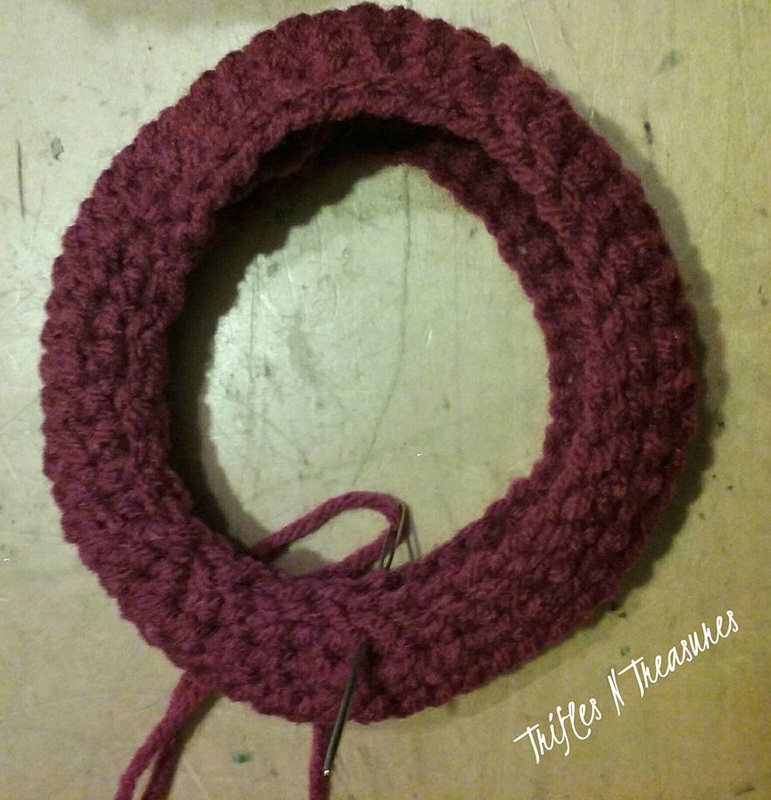
Using a yarn needle and the long tail, whip stitch the edges of the ring together. (See photo)
Place Cross Bar in center of ring, and stitch each end securely to the inside of the ring.
Place finished Ghostie inside ring, and arrange him as you like! Kids will LOVE that they can take this toy apart and play with both pieces separately.
Rnd 1: With Red, ch 40. Join to 1st ch to form a ring, being careful not to twist. Ch 1. Sc in each ch around. Join. (40 sts)
Rnd 2: ch 1. *Sc in next st. Work 2 sc in next st*. Repeat (*) around. Join. (60 sts)
Rnds 3-4: ch 1. Sc in each st around. Join. (60 sts)
Rnd 5: ch 1. *Sc2tog. Sc in next st*. Repeat (*) around. Join. (40 sts)
Rnd 6: ch 1. Sc in each st around. Join. (40 sts) Fasten off, leaving a long tail for sewing.
Cross Bar:
Rnd 1: With Red, ch 2. Work 6 sc in 2nd ch from hook. Join. (6 sts)
Rnds 2-10: ch 1. Sc in each st around. Join. (6 sts) Fasten off after rnd 10, leaving a long tail for sewing.
Assembly:
You may stuff the ring and bar, or not, as you wish. I did not stuff mine.
Using a yarn needle and the long tail, whip stitch the edges of the ring together. (See photo)
Place Cross Bar in center of ring, and stitch each end securely to the inside of the ring.
Place finished Ghostie inside ring, and arrange him as you like! Kids will LOVE that they can take this toy apart and play with both pieces separately.


 RSS Feed